Rear Brake Master Cylinder
SAFETY FIRST: Protective gloves and eyewear are recommended at this point.
Removal
Remove the right side cover. See the Side Covers topic for more information.
If you plan on disassembling the rear brake master cylinder drain the brake fluid from the rear brake system. See the Brake Fluid topic for more information.
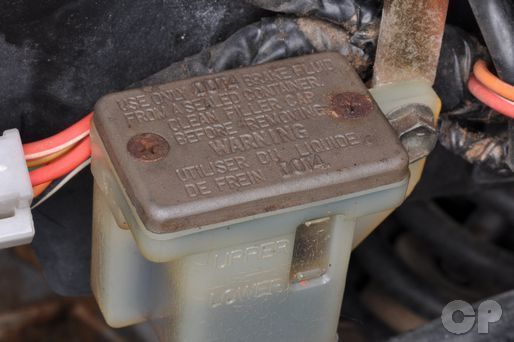


Remove the rear brake reservoir mounting bolt with a 10 mm socket.
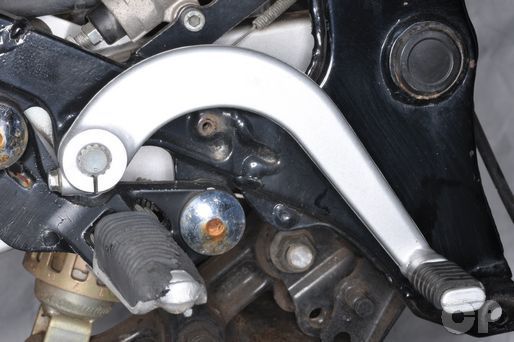


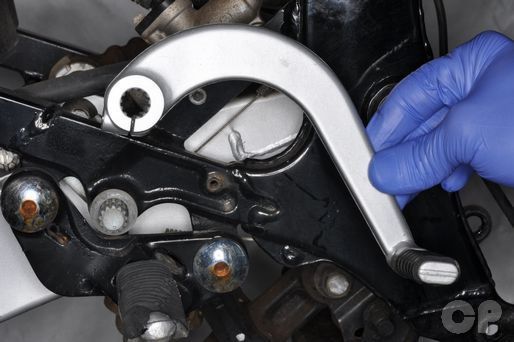
Node the location of the punch mark relative to the brake pedal. Loosen the brake pedal pinch bolt with an 8 mm socket.
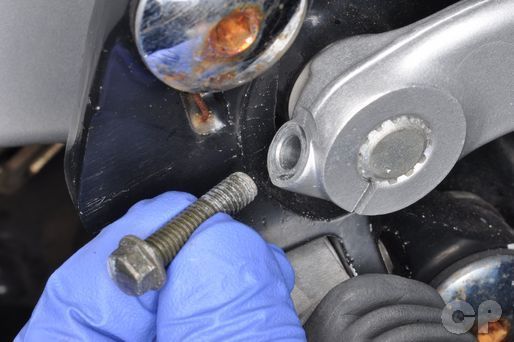


Remove the brake pedal pinch bolt. Side the brake pedal and washer off of the shaft.
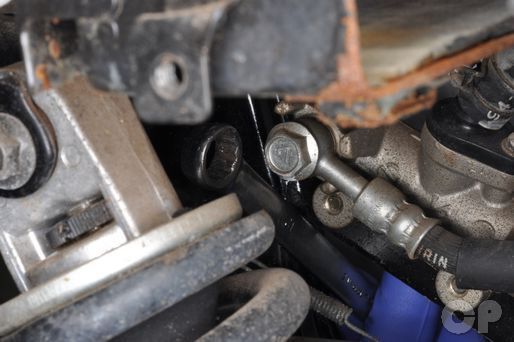


Loosen the banjo bolt with a 12 mm socket. Remove the banjo bolt and sealing washers from the rear brake master cylinder. Place the end of the hose in a suitable container to drain the remaining brake fluid.


Remove the master cylinder mounting bolts with a 5 mm Allen.


Remove the washer from the master cylinder pivot. Remove the master cylinder pivot.
Remove the master cylinder.
Disassembly


Remove the master cylinder reservoir hose screw with a #2 Phillips screwdriver.


Remove the master cylinder reservoir hose and O-ring from the master cylinder. Discard the O-ring if it is in poor condition.


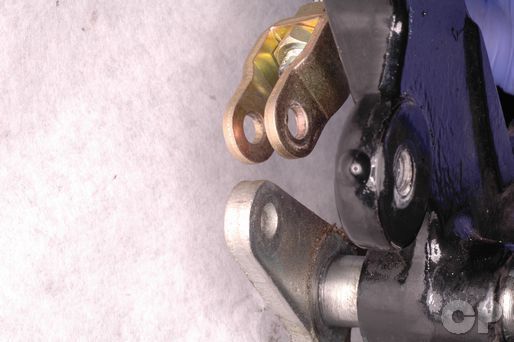
Remove the master cylinder pivot joint and nuts.
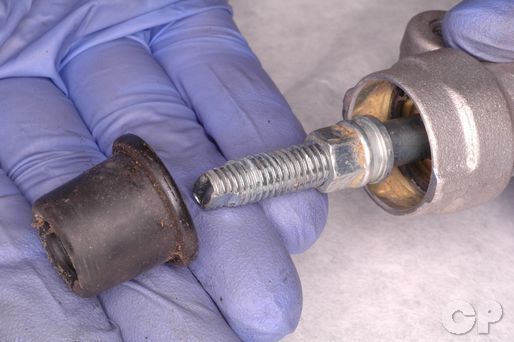
Remove the rubber boot.


Remove the snap ring with snap ring pliers.
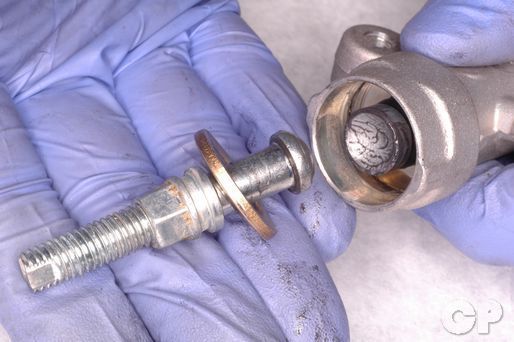
Remove the push rod.
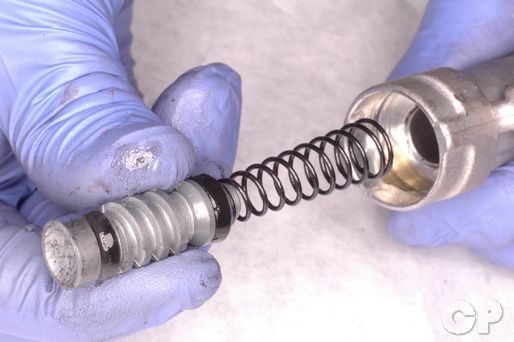
Remove the master cylinder piston and spring.


Inspect the bore, piston, and piston cups for wear and damage.
Assembly
Coat all the parts in fresh brake fluid.
Insert the spring into the cylinder with the large end going in first. The small end of the spring should fit on the end of the piston.
Hold the push rod against the piston and install the snap ring with snap ring pliers.
Install the rubber boot.
Thread on the brake pedal adjuster nuts so that the set on each side of the master cylinder pivot joint.
Coat the master cylinder reservoir hose O-ring in brake fluid and place it in the master cylinder. Insert the master cylinder reservoir hose into the master cylinder.
Install the master cylinder reservoir hose screw and tighten it securely with a #2 Phillips screwdriver.
Installation


Line up the master cylinder pivot joint with arm.
Insert the pivot from the right side of the joint and place the washer on the pivot.


Insert a new cotter pin into the pivot and bend it securely into place.
Apply blue Loctite to the threads of the master cylinder mounting bolts. Install the master cylinder mounting bolts. Tighten the mounting bolts to specification with a 5 mm Allen.
(Master Cylinder Mounting Bolt Torque: 10 N-m or 7 lb-ft)
Connect the master cylinder to the brake hose with the banjo bolt and new sealing washers. Torque the banjo bolt to specification with a 12 mm socket.
(Banjo Bolt Torque: 23 N-m or 16.5 lb-ft)
Install the rear brake reservoir to its bracket. Tighten the bolt securely with a 10 mm socket.

Place the washer on the brake pedal shaft. Install the brake pedal so that its pinch slit lines up with the punch mark on the shaft.


Tighten the brake pedal pinch bolt securely with an 8 mm socket.
Fill and bleed the rear brake fluid. See the Brake Bleeding topic for more information.
Remove the right side cover. See the Side Covers topic for more information.
Copyright - Cyclepedia Press LLC

Note: If you are viewing this document offline be sure to visit the latest version online at http://www.cyclepedia.com before attempting any repairs. Updates are made without notice.